

How to Integrate Pay with Crypto Payment Checkout with Lazerpay
A Complete Guide to Powering Crypto Payment Checkout in your Websites with Lazerpay


Lazerpay is a blockchain payment system that enables you to seamlessly integrate crypto payments in your apps — or websites. And with the recent surge in web3 adoption, this feels like the right time to offer crypto payment options to your users. Lazerpay makes it ridiculously easy using their API and tools — for example, the Lazerpay checkout script, to integrate a "Pay with Crypto" checkout in your website or apps without writing a single line of blockchain code.
In this article, I will show you how to integrate a pay with crypto checkout in your app and receive crypto payments from your users. You should read on if you have a personal website with a 'sponsor/donate' page or an e-commerce website.
At the end of this tutorial, you will be able to build your own Lazerpay integrated page and accept various Stablecoins (less volatile form of cryptocurrency). such as:
USDT
DAI
BUSD
USDC
So without further stalling, let's begin! :)
Step 1: Creating a Lazerpay Account
Before we go any further, you need to create a Lazerpay account and grab your unique credentials so you can authenticate your request to the API.
So, navigate to Lazerpay.finance and create your business account.

Step 2: Grabbing your Lazerpay Credentials
Once you've successfully created your account, you can now grab your unique keys and use that to authenticate your request to the lazerpay's API.
So login to your account and on the left navigation panel, click on Settings. Click API keys and Webhook tab. This is where you will find your unique keys.
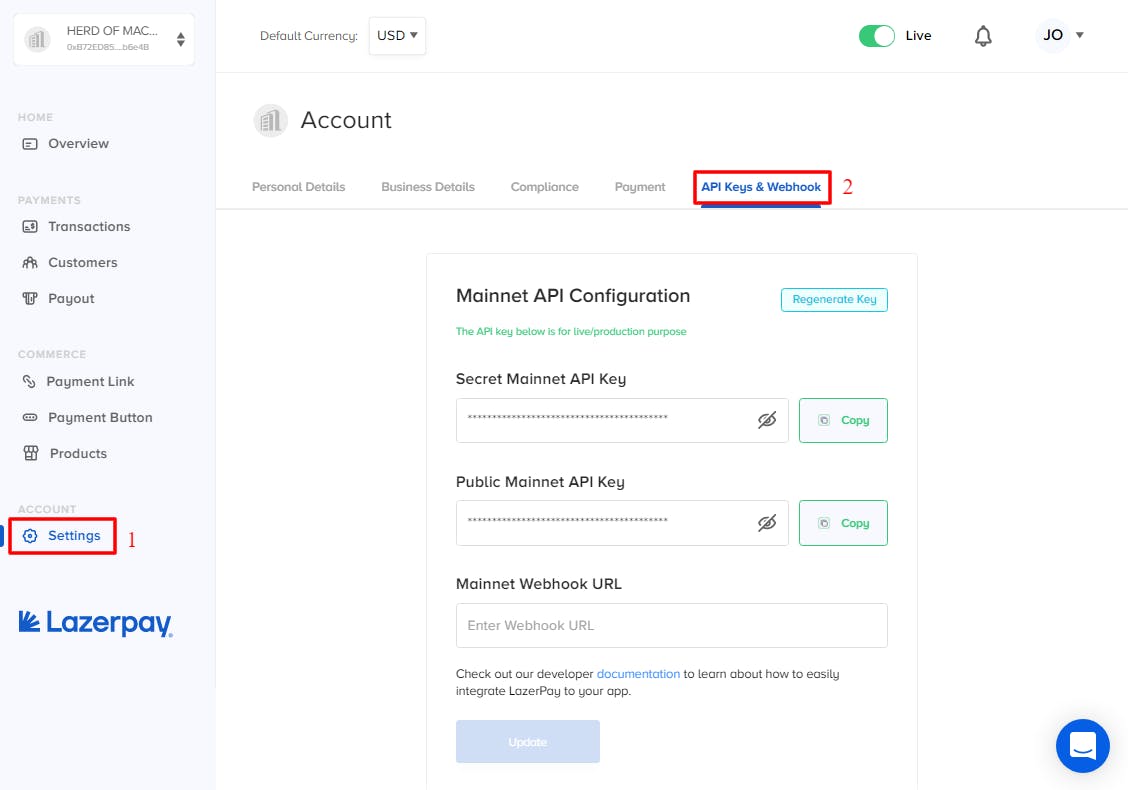
You will notice two categories of API configurations. The Mainnet API configuration and Testnet API configuration. During development, use the Testnet keys to test lazerpay integration. When you are ready to go to production, that's when you should use the Mainnet keys.
Copy your test public keys to your clipboard as you would be needing it later.
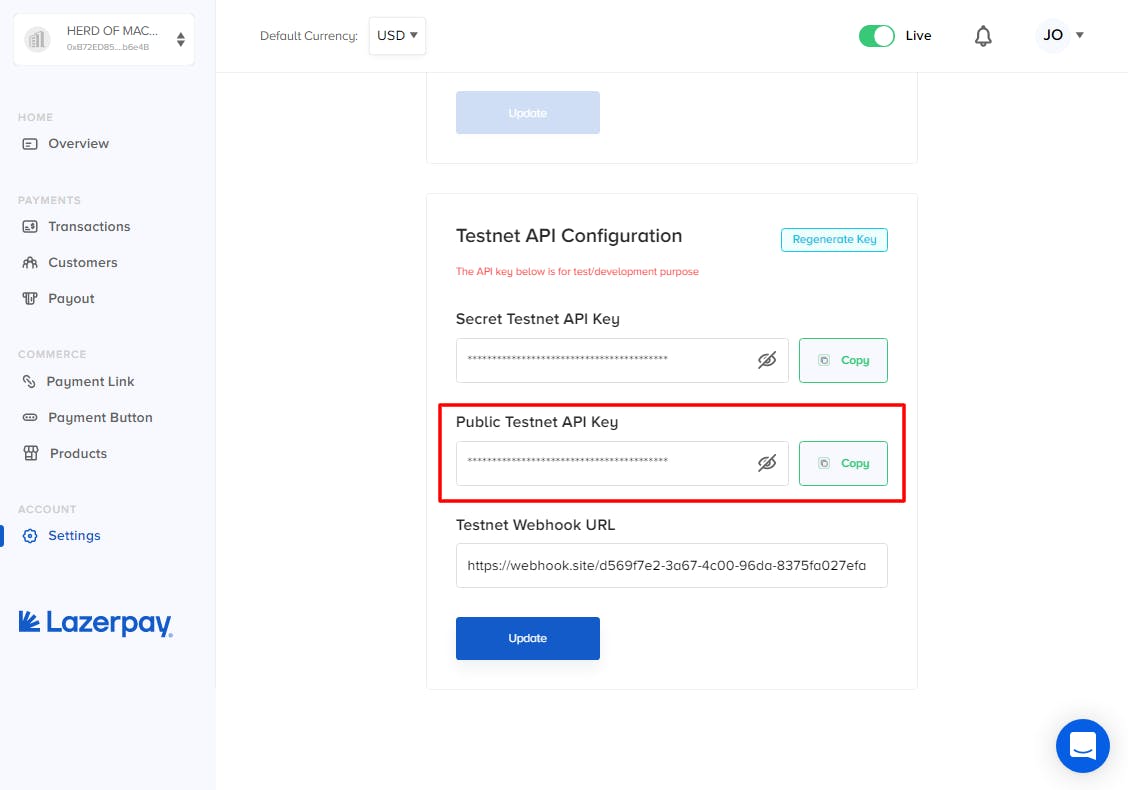
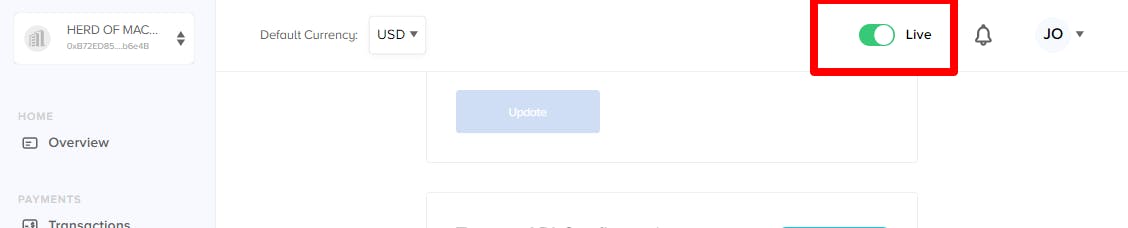
Now that you have your Testnet public keys, toggle the switch at the header of your dashboard to switch to the Testnet (sandbox-ish).
In the live environment, you deal with real crypto assets while the test environment uses Test Tokens which you can get for free from faucets to test your integration.

Step 3: Integrating Lazerpay Checkout
Woohoo! you made it here. Here comes the juicy part of the integration, adding the pay with crypto buttons to process payments on your website.
To demonstrate this, I scaffolded a basic cookie cart app that sells the most delicious cookie you would ever taste. And the coolest part is that you can buy any of the cookies using crypto. Give it a shot, amigo! Okay Okay, We would not build the app in this tutorial but we would look at the core process to build same.
That said if you would love to play around with the cookie cart app code, you can clone the starter template branch and try to implement the functionality yourself.
Let's begin the integration.
First, create a button element that would trigger the payment
<!-- index.html -->
<button class="btn">Pay with Crypto</button>
Then, import the Lazerpay Checkout Script in the head of your index.html
<!-- index.html -->
<!-- Include the Lazerpay Checkout CDN Script-->
<script src="https://cdn.jsdelivr.net/gh/LazerPay-Finance/checkout-build@main/checkout%401.0.1/dist/index.min.js" type="text/javascript"></script>
Now in your app.js file, we can write the code that triggers the lazerpay checkout. We would need a reference to your button element like so:
 // app.js
const payBtn = document.querySelector(".btn");
Then, attach an event listener to the button element that calls the LazerCheckout function on a click event.
//app.js
// Listen for click events on payBtn
payBtn.addEventListener("click", (e) => {
    e.preventDefault();

    // The CDN injects a `LazerCheckout` method
    // then, Invoke the lazerCheckout method
    LazerCheckout({
        name: "",
        email: "",
        amount: "2.00",
        key: "YOUR_PUBLIC_TEST_KEY",
        currency: "USD",
        onClose: (data) => {
          console.log("onClose:", data);
        },
        onSuccess: (data) => {
          console.log("onSuccess:", data);
        },
        onError: (data) => {
          console.log("onError:", data);
        }
      })
})
The LazerCheckout method accepts an object containing details about the transaction and a number of callback methods. Let's discuss them:
name- Customer nameemail- Customer emailamount- Amount to charge the customerkey- Your lazerpay public key which you copied in earlier sectionscurrency- The currencyamountis denominated in. Can be USD, GBP, EUR, AED or NGN.onClose- The function called when the payment modal closesonSuccess- The function called when a customer completes a transactionsonError- The function called when a transaction fails
You can explore more options and other ways to configure the transaction on the Lazerpay official docs page.
Now if we run our website or web app and click the button, we can see the lazerpay checkout was triggered successfully.
Step 4: Testing transactions
The next step after successfully integrating the checkout is to test the integration with dummy transactions.
To test transactions, you would need a non-custodial wallet (like MetaMask) to make test payments. There are various tutorials on the internet to learn how to setup MetaMask.
Then you also need a few test tokens. Currently, you can only test using the Tether token(USDT). So grab some USDT from the faucets.
Here's a clip of how I got some USDT from the binance faucet.
Now that you have some test tokens in your wallet, you can use that to initiate a payment transaction.
Here's a clip of how I tested my integration.
As seen above, the transaction has been completed successfully. You can verify that the amount has been received by logging into your Lazerpay Dashboard.
Note: When a payment is successful, Lazerpay sends a DEPOSIT_TRANSACTION webhook event to the webhook URL that you provide. It is highly recommended that you use webhooks to confirm the payment status before delivering value to your customers.
Click on Overview on the left navigation panel, you should see the transaction.
Step 5: Go Live
Once we are satisfied with the testing, we can go live.
To go live, go to your dashboard. Toggle the switch to the main environment.
Now, Under Settings, select the API and Webhooks tab. Copy your public main net keys.
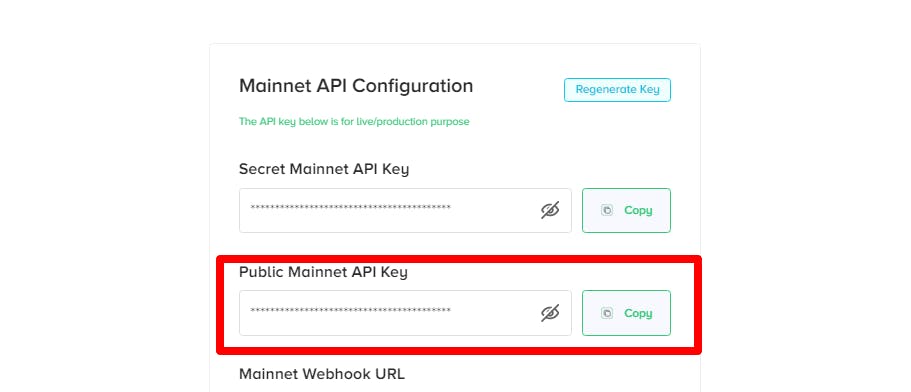
Finally, copy the live/mainnet keys and replace the key option in the object passed to the LazerCheckout function.
payBtn.addEventListener("click", (e) => {
    LazerCheckout({
        ...
        key: "YOUR_PUBLIC_LIVE_KEY",
        ...
})
And there you go! You are now ready to process real crypto transactions on your website!
Never ever expose your secret keys. Do not commit your secret keys to Git, or use them in client-side code.
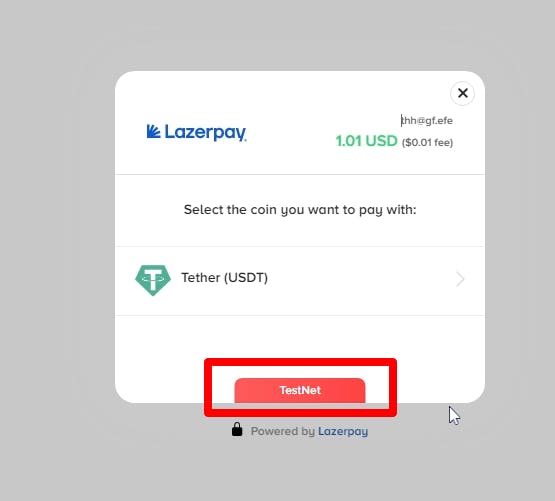
How to verify if you went live successfully?
A quick way to tell is to click the pay button and check the pop up.
Testnet
Mainnet/Live
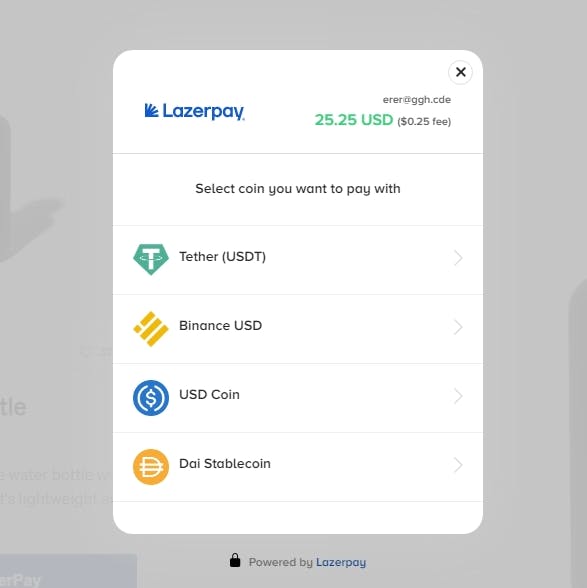
You also get more Stablecoins options when you go live.
Conclusion
Offering an option to receive payment in crypto unlocks a new set of superpowers for users of your website or web app. And daily as more people get onboarded to web3, getting paid in crypto would open up your app to tons of new demographics globally. In this article, we explored how to integrate a pay with crypto functionality using the Lazerpay Checkout tool in your website.
I hope you have found this article helpful in powering up your websites for a payment system that accepts crypto. Thanks for reading! Please share if it is helpful in any way! Cheers!